

Announcing urbit-devops, the easiest, fastest way to get an urbit up and running in the AWS cloud.
Initially, this is only available for Amazon AWS, but I’ll be looking to expand it to other cloud services in the future. The first method uses Hashicorp’s Terraform and is basically restricted to just getting an urbit up and running, but I am also working on another branch to have an even more fully-featured set of scripts using ansible.
Step 1: Create an Amazon AWS Account.
If you haven’t done this already you are in luck because Amazon will let you run your urbit on an EC2 micro instance for a whole year for free.
Now, log into your account and go to the Identity and Access Management (IAM) Dashboard.
Amazon will now want you to make your account more secure by performing 5 steps.
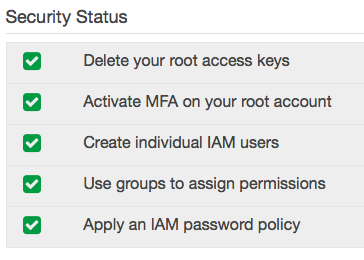
These are all good ideas. I am not going to cover #1, 2, or 5 but Amazon’s docs are pretty decent. We need to make the group and non-root user for our scripts anyway so let’s dive in.
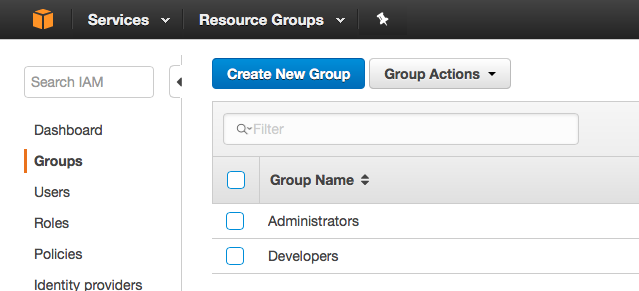
Step 2: Create a group for defining permissions for your automation script user
- Click on the “Groups” link on the left sidebar and then click the “Create New Group” button:
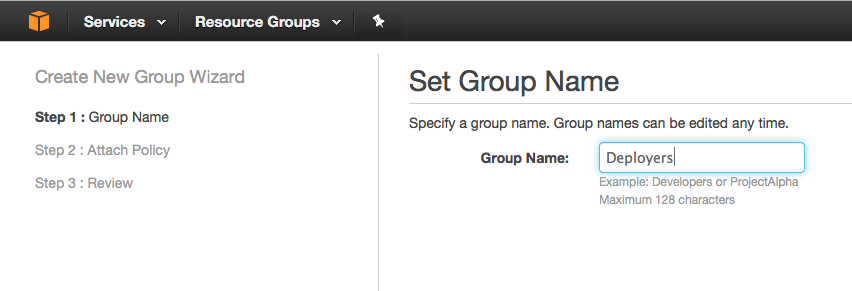
- Give your new groups a name, I chose “Deployers”:
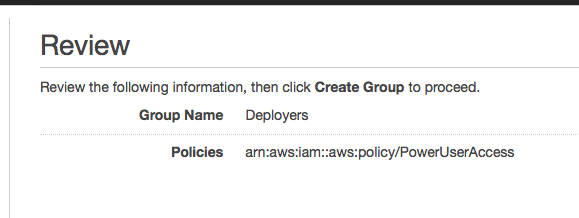
- Attach the Policy “PowerUser” to the group. This will give it the appropriate permissions for our scripts to be able to create and manipulate our urbit EC2 instances

- Review and Accept
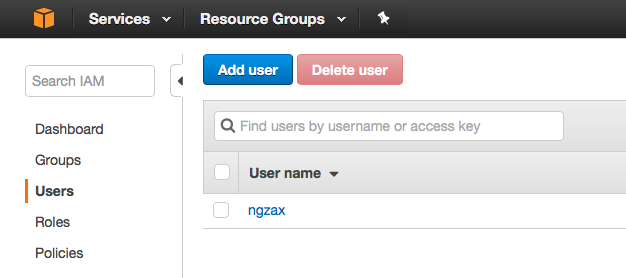
Step 3: Create a dedicated user to run your devops scripts
We want to create a separate user account to perform these operations. It is not considered wise to use your root Amazon account to do this.
- Click on the “Users” link on the left-hand side and then click the button to add a User.
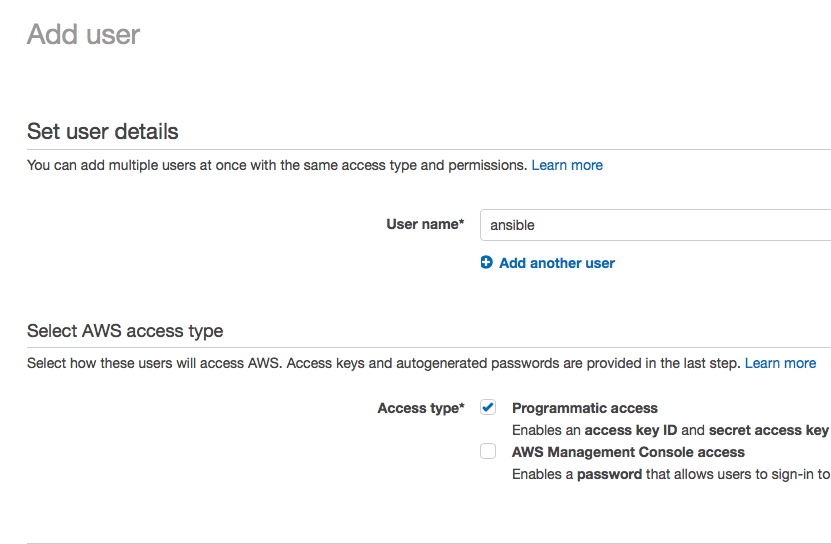
- You will then be able to give the user a name, in this case I chose “ansible,” but anything will do. Make sure to check the box for “programmatic access” as this user should never be able to log into the AWS console.
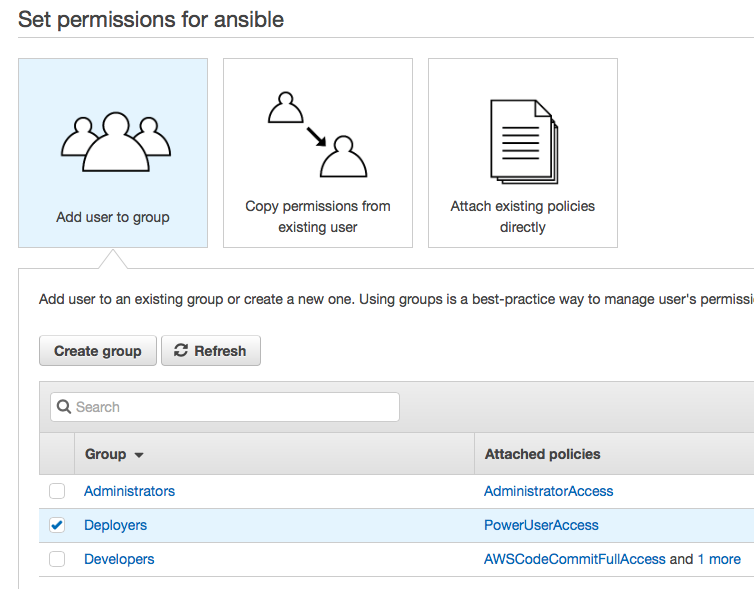
- Add your user into the “Deployers” group that we created in Step 2.
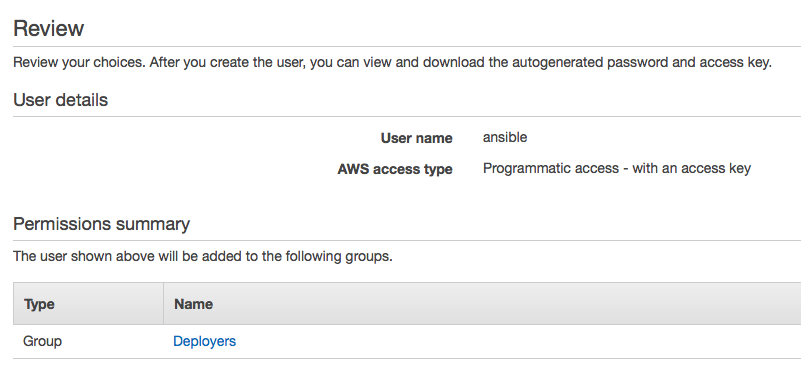
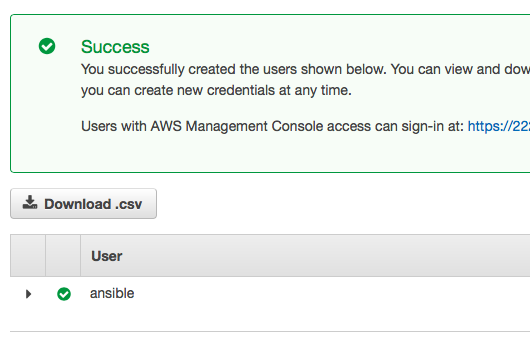
- Review and confirm.
- Amazon will now give you the opportunity to download the credentials (Access Key and Secret Key) for you user. You will need this. Please download and store it in a safe place.
Step 4: Create a key pair and download the private key for your desired EC2 zone.
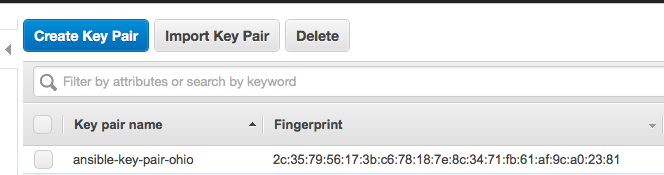
As you can see, I named it “{user}-key-pair-{region}”. This is arbitrary but will help you identify it later. Key pairs are unique within regions so it helps to have that in the name as well. When you create it it will automatically download the private key portion to your computer with the name “{keypair name}.pem.txt”.
You need to take this file, remove the .txt extension and save it in whatever directory you store your private keys. On most unix systems this is ~/.ssh/. You also need to change the permission on it so that only the owner can access it. On unix this is accomplished by running, for example:
chmod 400 ~/.ssh/ansible-key-pair-ohio.pem
Step 5: Set up your Amazon credentials
If you don’t have it already, create a .aws directory in your home directory. Create a file named “credentials” in it and add your AWS access key and secret accees key to it:
[default]
aws_access_key_id={YOUR_ACCESS_KEY}
aws_secret_access_key={YOUR_SECRET_KEY}
If you have multiple AWS account you can add multiple named sections to this file for each, I will show you how to pick which one later one.
Step 6: Clone the urbit-devops git repository
$ git clone [email protected]:ngzax/urbit-devops.git
$ cd urbit-devops/terraform
Step 7: Create a terraform.tfvars file in the terraform directory
This is the file that contains the specific information about your Amazon account and credentials and where they exist on your local computer. At minimum, the file needs to contain 3 lines that should look something like this:
$ cat terraform.tfvars
PATH_TO_PRIVATE_KEY     = "~/.ssh/ansible-key-pair-ohio.pem"
PRIVATE_KEY_NAME        = "ansible-key-pair-ohio"
SHARED_CREDENTIALS_FILE = "~/.aws/credentials"
The path to private key is the one that you created and downloaded in step 4. The name is just its name and the shared credentials is what you created in step 5.
If you have more than one Amazon account profile in your ~/.aws/credentials file you can select the one you want to use by adding it to terraform.tfvars:
PROFILE = "ansible"
Another important variable that you probably want to override is the ALLOW_SSH_FROM_IPS. This variable controls what ip addresses (or ranges) are allowed to access your urbit server via ssh. You will want to determine your local ip address and make sure to put that in there instead of the default which allows all addresses.
Click here for Amazon’s documentation about security groups.
Step 8: Install and Run Terraform
Go to https://www.terraform.io/downloads.html and download the terraform binary. Put it somewhere in your path.
From the urbit-devops/terraform directory you can run “terraform plan” to see what terraform is going to execute on your behalf. Once you are ready, to actually deploy your urbit, use “terraform apply”
$ terraform apply
aws_security_group.urbit-sg: Creating...
  description:                           "" => "Urbit Default Security Group"
  egress.#:                              "" => "<computed>"
  ingress.#:                             "" => "4"
.
.
.
aws_security_group.urbit-sg: Creation complete (ID: sg-eda66985)
aws_instance.urbit-pier: Creating...
  ami:                          "" => "ami-8a7859ef"
  associate_public_ip_address:  "" => "<computed>"
.
.
.
aws_instance.urbit-pier: Still creating... (3m10s elapsed)
aws_instance.urbit-pier: Still creating... (3m20s elapsed)
Step 9: Check out your new urbit comet
The terraform process created a file in the terraform directory called “ip_address.txt”. This is the public ip_address of your new urbit comet.
$ more ip_address.txt
52.15.141.16
Put this address in your web browser and you should see the homepage of your new comet:
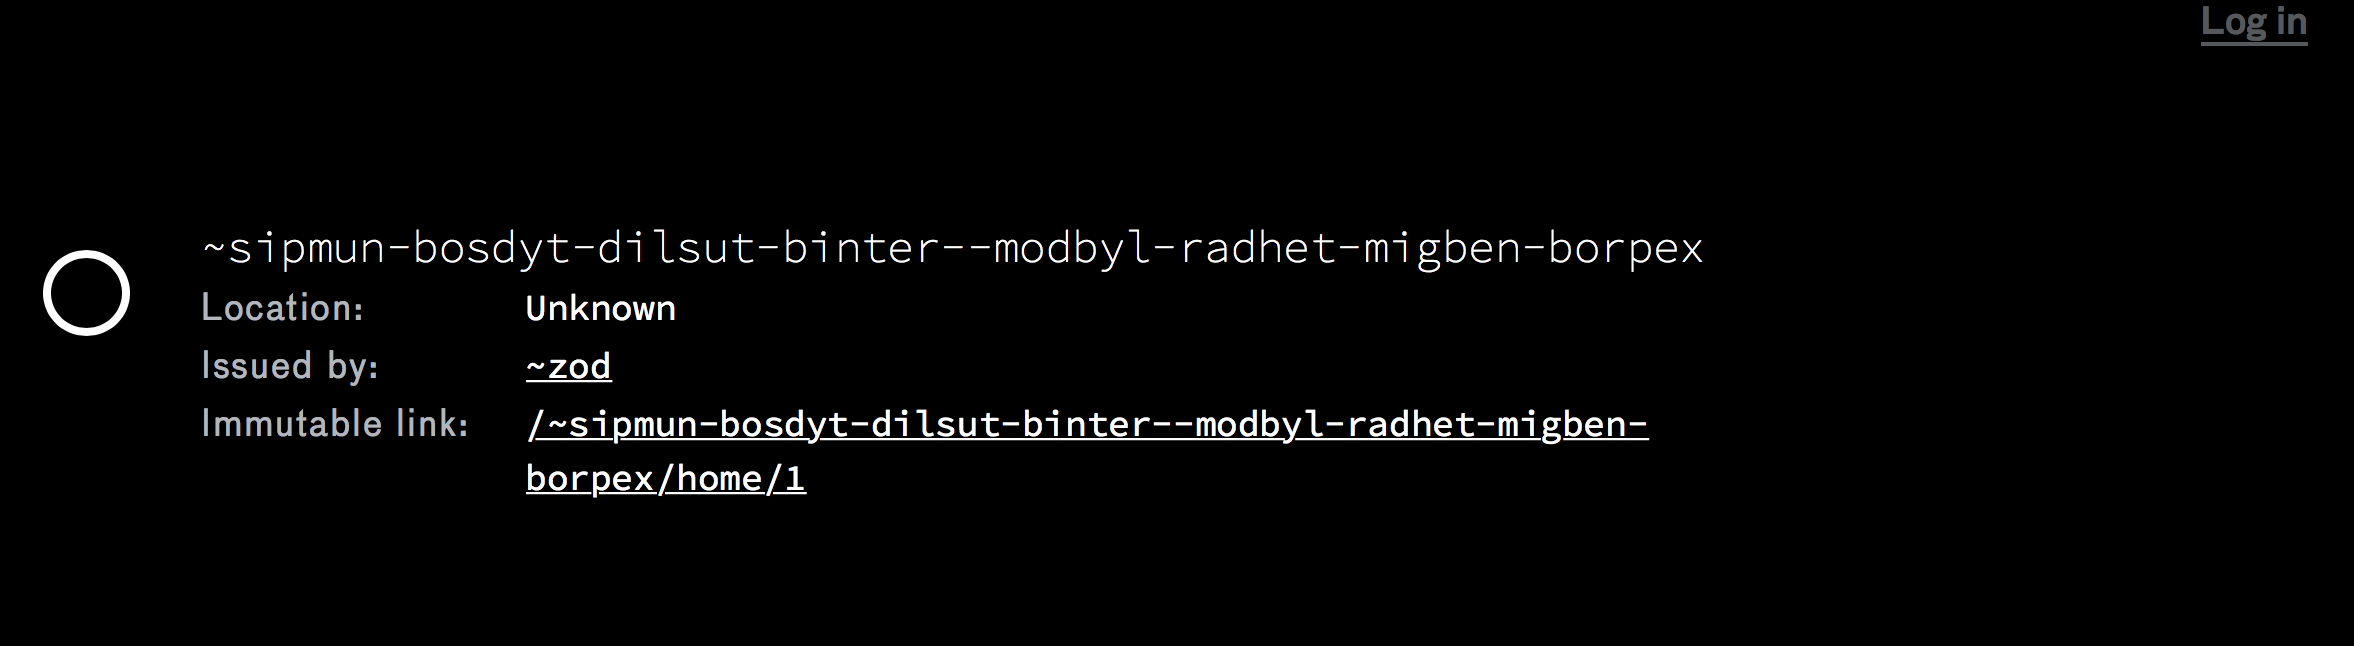
You can click on the Log In link and it will ask you for a code. To get the code you’ll need to connect to your new comet via ssh using the -i option and passing it the path to your key pair as shown:
$ ssh -i ~/.ssh/ngzax-key-pair-ohio.pem [email protected]
Last login: Tue Aug 22 14:40:15 2017 from 158.81.208.251

       __|  __|_  )
       _|  (     /   Amazon Linux AMI
      ___|\___|___|

https://aws.amazon.com/amazon-linux-ami/2017.03-release-notes/
Your comet is running in a “screen” session. You can reattach to it and type “+code” in the dojo to get your code:
$ screen -r
~
urbit 0.4.5
urbit: home is new-comet
loom: mapped 2048MB
protected loom
live: loaded: MB/71.188.480
boot: installed 239 jets
arvo: time: ~2017.8.22..14.47.04..c937
rest: checkpoint to event 2.106
rest: old 0vb.s9sdj, new 0v1u.3slgt
loaded passcode from new-comet/.urb/code.~maplux-tanleg

---------------- playback complete----------------
ames: on localhost, UDP 53033.
http: live (insecure, public) on 8080
http: live ("secure", public) on 8443
http: live (insecure, loopback) on 12321
ames: czar zod.urbit.org: ip .104.197.214.171
~sipmun_borpex:dojo> +code
To detach from your screen session use Ctrl-a and then “d” Your comet will continue to run until to reattach to the session and type Ctrl-d to stop urbit and then “exit”.
You can disconnect your ssh session by typing “exit”.